How to do Graphical Tests in Unity ?
Posted on Wed 15 November 2023 in misc
Introduction
Certain tests cannot be conducted solely by comparing the return value of a function, particularly when custom shaders are in use. In such scenarios, it becomes necessary to perform comparisons based on screenshots. Fortunately, Unity offers some tools to do so, using the Unity's Graphics Tests Framework.
Graphics Tests Framework
I supposed you are already familiar with Unity Test Framework and Unit Tests in general.
Windows -> Package Manager -> Add package by name...
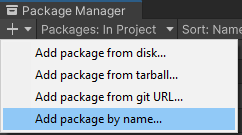
Add com.unity.testframework.graphics package.
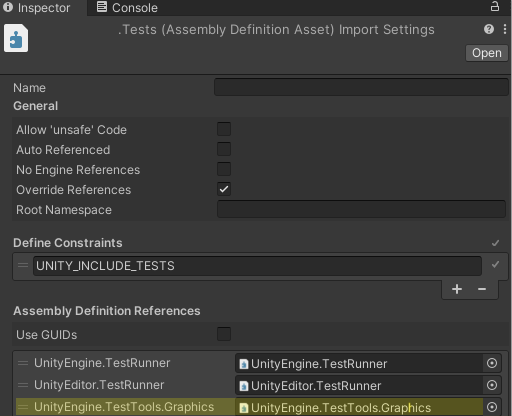
Then, add UnityEngine.TestTools.Graphics to your test Assembly Definition Asset:
And add a new script file in your Tests folder. Let's call it GraphicTests.cs and past this code (inspired from https://github.com/Unity-Technologies/Graphics-Test-Framework-Examples/blob/master/Assets/Tests/GraphicTest.cs)
using System.Collections;
using UnityEngine;
using UnityEngine.SceneManagement;
using NUnit.Framework;
using UnityEngine.TestTools;
using UnityEngine.TestTools.Graphics;

public class GraphicTests
{
    [PrebuildSetup("SetupGraphicsTestCases")] // This will call the "Setup" function in SetupGraphicsTestCases.cs
    [UseGraphicsTestCases] // Tells TestRunner that the following function is a test. (it inherits from UnityTest)
    public static IEnumerator GraphicTest1(GraphicsTestCase testCase)
    {
        SceneManager.LoadScene(testCase.ScenePath);

        // Arbitrary wait for 5 frames for the scene to load, and other stuff to happen (like Realtime GI to appear ...)
        for (int i = 0; i < 5; ++i)
            yield return null;

        // Load the test settings.
        var settings = GameObject.FindObjectOfType<GraphicsTestSettings>();
        if (settings == null)
            Assert.Fail("Missing test settings for graphic tests.");

        // Get the test camera
        var camera = GameObject.FindObjectOfType<Camera>();

        // Do the image comparison test
        ImageAssert.AreEqual(testCase.ReferenceImage, camera, settings.ImageComparisonSettings);

        yield return null;
    }


    [TearDown]
    public void DumpImagesInEditor()
    {
        // Save the result images in the project.
        UnityEditor.TestTools.Graphics.ResultsUtility.ExtractImagesFromTestProperties(TestContext.CurrentContext.Test);
    }
}
Graphical test will collect Scene present in your build, load it, take a snapshot and compare it with a reference image. Let's see how to add new graphical test case in the following section.
Adding a new Graphical Test
Create a new scene with object to test. Make it as simple as possible and ensure camera is properly located at scene startup.
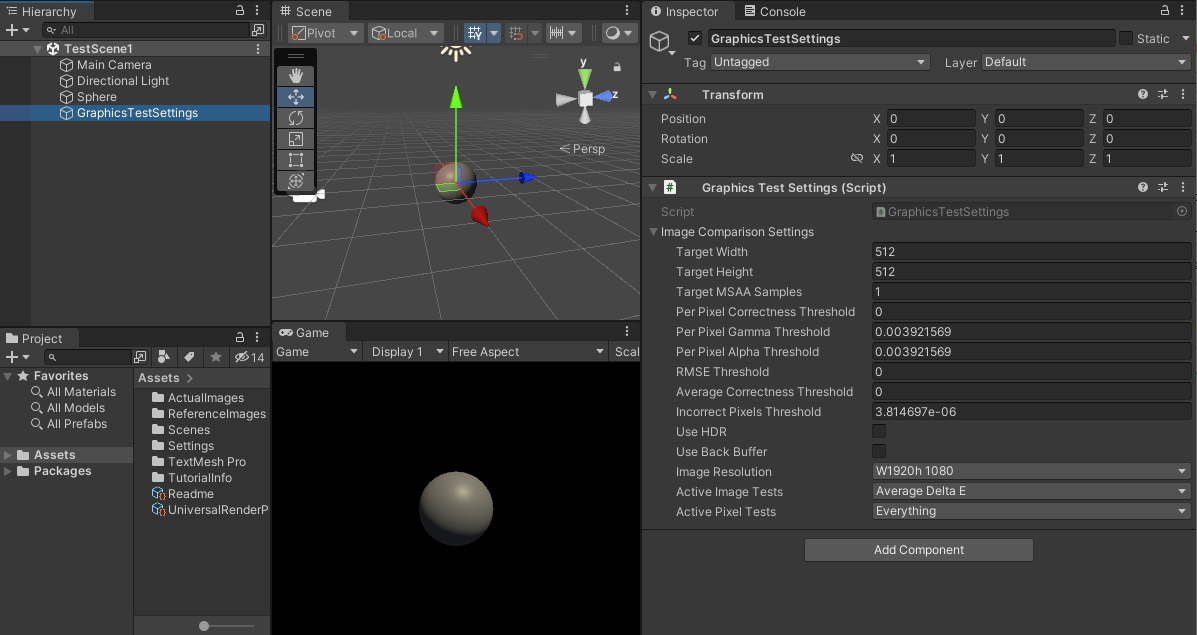
- Add an empty GameObject, call it GraphicsTestSettings and add it a GraphicsTestSettings component. This component contains various settings: Image size, Image comparison threshold, etc...
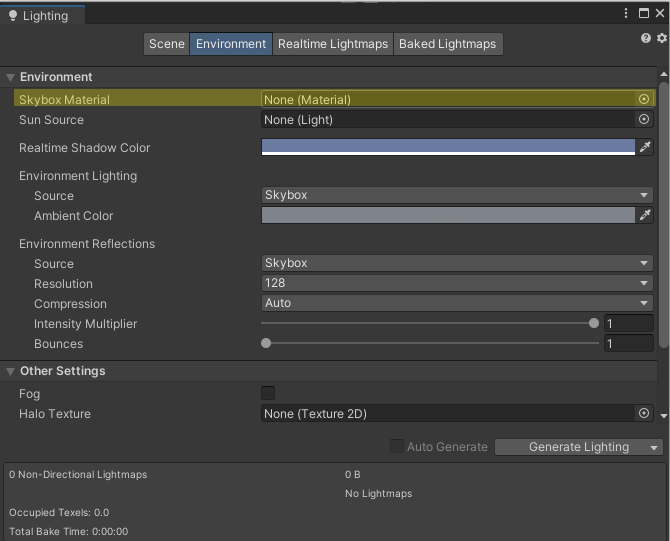
It's also a good practice to remove the Skybox : Windows -> Rendering -> Lighting -> Environment -> Skybox Material -> None
and have a black background: Camera -> Environment -> Background Type -> Solid Color -> Black:
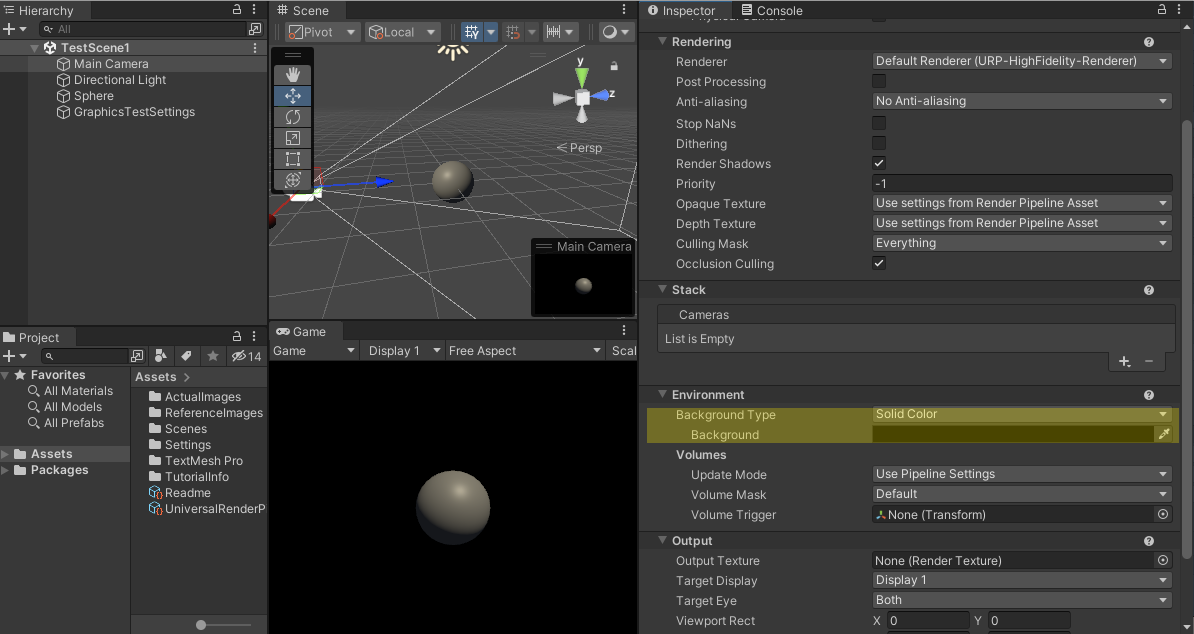
To really focus on object to test and avoid false positive caused by environment variations.
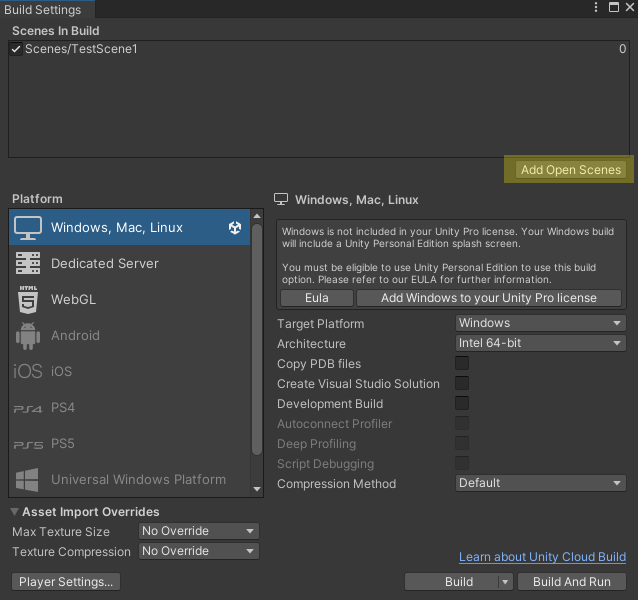
- Add test scene to build: File -> Build Settings -> Add Open Scene.
Execute Tests. This will create a folder Assets/ActualImages. Rename it to ReferencesImages.
Execute Tests again. This time, tests should be green.
Conclusion
Graphical tests are highly susceptible to false positives and flakiness. Differences in GPU, system configurations, and driver versions from the environment where the reference images were generated can lead to test failures, even if there are no visible differences to the naked eye. Here are some suggestions to minimize the occurrence of false positives:
- Don't use Graphical test for complex scene. Prefer doing small, isolated test for each asset and each use case.
- Remove anything that is not directly related to your test: Other objects, UI, Skybox, Shadows, Anti-Aliasing, etc... are source of flakiness.
- Run tests always on the same machine. And generate references images on this machine.
- Adjust thresholds in GraphicsTestSettings component.
- Generate small images: 256x256 or 512x512 are enough for most cases.